

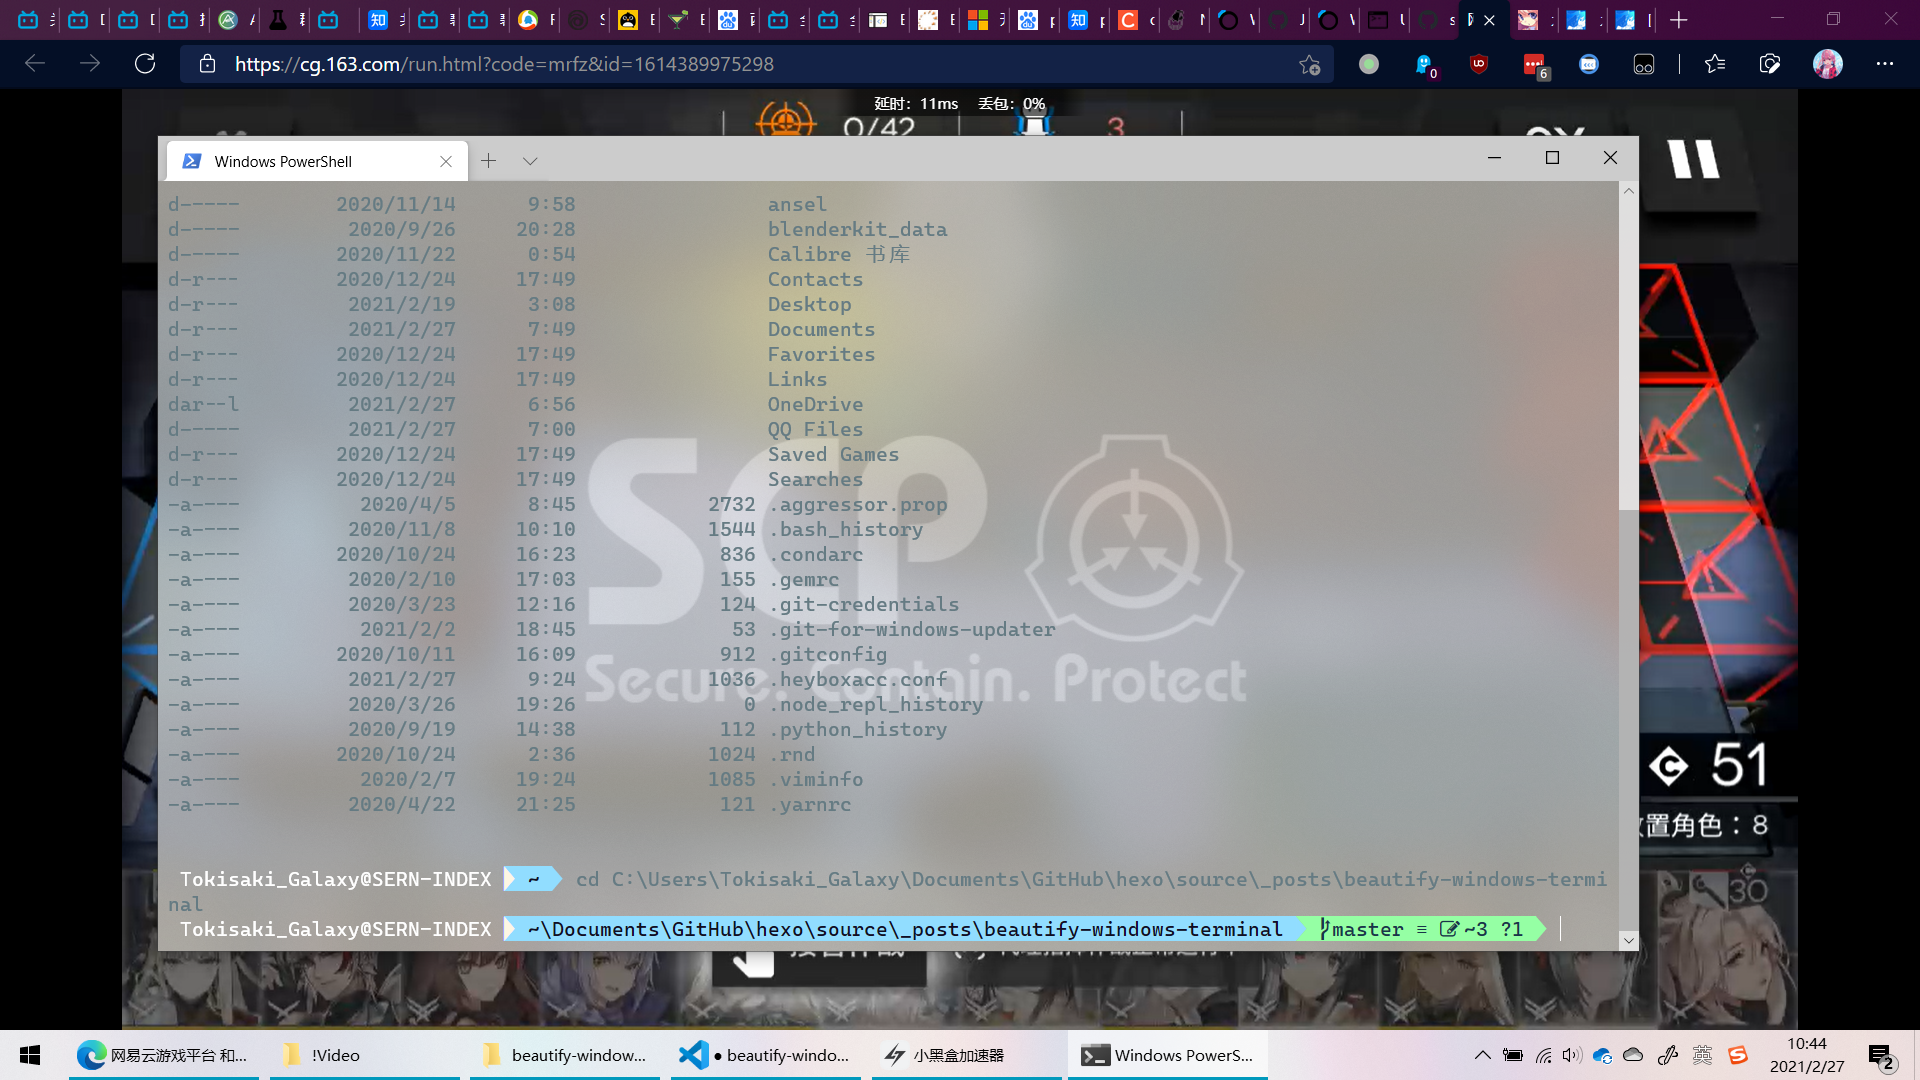
Install Windows Terminal
There are two ways to download it: from Github or the Windows Store. I recommend downloading from the Windows Store, since it can auto-update.
Update Windows PowerShell
This step is optional Windows ships with the eternal 5.0. You can update to a new version; at the moment, the latest LTS is version 7.0.5. How to update
Change the Windows Terminal color scheme
https://docs.microsoft.com/zh-cn/windows/terminal/customize-settings/color-schemes
Set the script execution policy
By default, running any script is prohibited. You can use Get-ExecutionPolicy to check the current script execution policy, and Set-ExecutionPolicy to set a new one.
Available policies:
Restricted——默认的设置, 不允许任何script运行AllSigned——只能运行经过数字证书签名的scriptRemoteSigned——运行本地的script不需要数字签名,但是运行从网络上下载的script就必须要有数字签名Unrestricted——允许所有的script运行You can type Set-ExecutionPolicy all to use the AllSigned policy, i.e. it allows you to type just the first few characters.
For the beautification settings that follow, we need to set it to RemoteSigned.
Type Set-ExecutionPolicy remote.
Install the beautification modules
Module installation command syntax
The command to install a module in PowerShell is:
Install-Module [moudel name]
Install-Module [moudel name] -Scope CurrentUser #installs only for the current user
Install the modules
Install-Module posh-gitInstall-Module oh-my-poshInstall-Module DirColors #makes ls (Get-ChildItem) colorful like on Unix-like terminalsLoad the modules and set the theme
Note: the command to load the theme is Set-PoshPrompt -Theme powerline, NOT Set-Theme powerline!!!
Import-Module DirColorsImport-Module posh-gitImport-Module oh-my-poshSet-PoshPrompt -Theme powerlineHere’s the link to oh-my-posh, placed here for anyone who might need it. At this point you can already see the beautified terminal, but closing it will reset the previous settings, so you need to put these commands into a script that loads automatically every time you open the terminal.
Save the settings
Save for your user only
Type $PROFILE, and it will show the script that runs automatically every time you open the terminal for your personal user. Then edit that file with notepad and add the following section:
Import-Module DirColorsImport-Module posh-gitImport-Module oh-my-poshSet-PoshPrompt -Theme powerlineSave for all users on this computer
Same operation, except the file to modify is at "%windir%\system32\WindowsPowerShell\v1.0\Microsoft.PowerShell_profile.ps1".
Fixing garbled characters
The garbled characters appear because oh-my-posh uses icons, but your font doesn’t contain those icons, so you need to switch to a new font that includes icons. Nerd Font download I personally use Cascadia Cove Nerd Font from the Nerd fonts collection — it feels quite comfortable. After downloading, install it on your computer, then select this font in the Windows Terminal settings.
My personal settings file (just the color-related part)
"profiles": { "defaults": { // Put settings here that you want to apply to all profiles. "acrylicOpacity": 0.6, //背景透明度(0-1) "useAcrylic": true, // 启用毛玻璃 "backgroundImage": "C:\\Users\\Tokisaki_Galaxy\\OneDrive\\图片\\SCP.jpg", //背景图片 "backgroundImageOpacity": 0.1, //图片透明度(0-1) "experimental.retroTerminalEffect": false, //复古的CRT 效果 "backgroundImageStretchMode": "uniformToFill", //填充模式 "fontFace": "CaskaydiaCove Nerd Font", //字体名称 "fontSize": 12, //文字大小 "fontWeight": "normal", //文字宽度,可设置加粗 "colorScheme": "Solarized Light", //主题名字 "cursorColor": "#FFFFFF", //光标颜色 "cursorShape": "bar", //光标形状 "antialiasingMode": "cleartype" //ClearType },